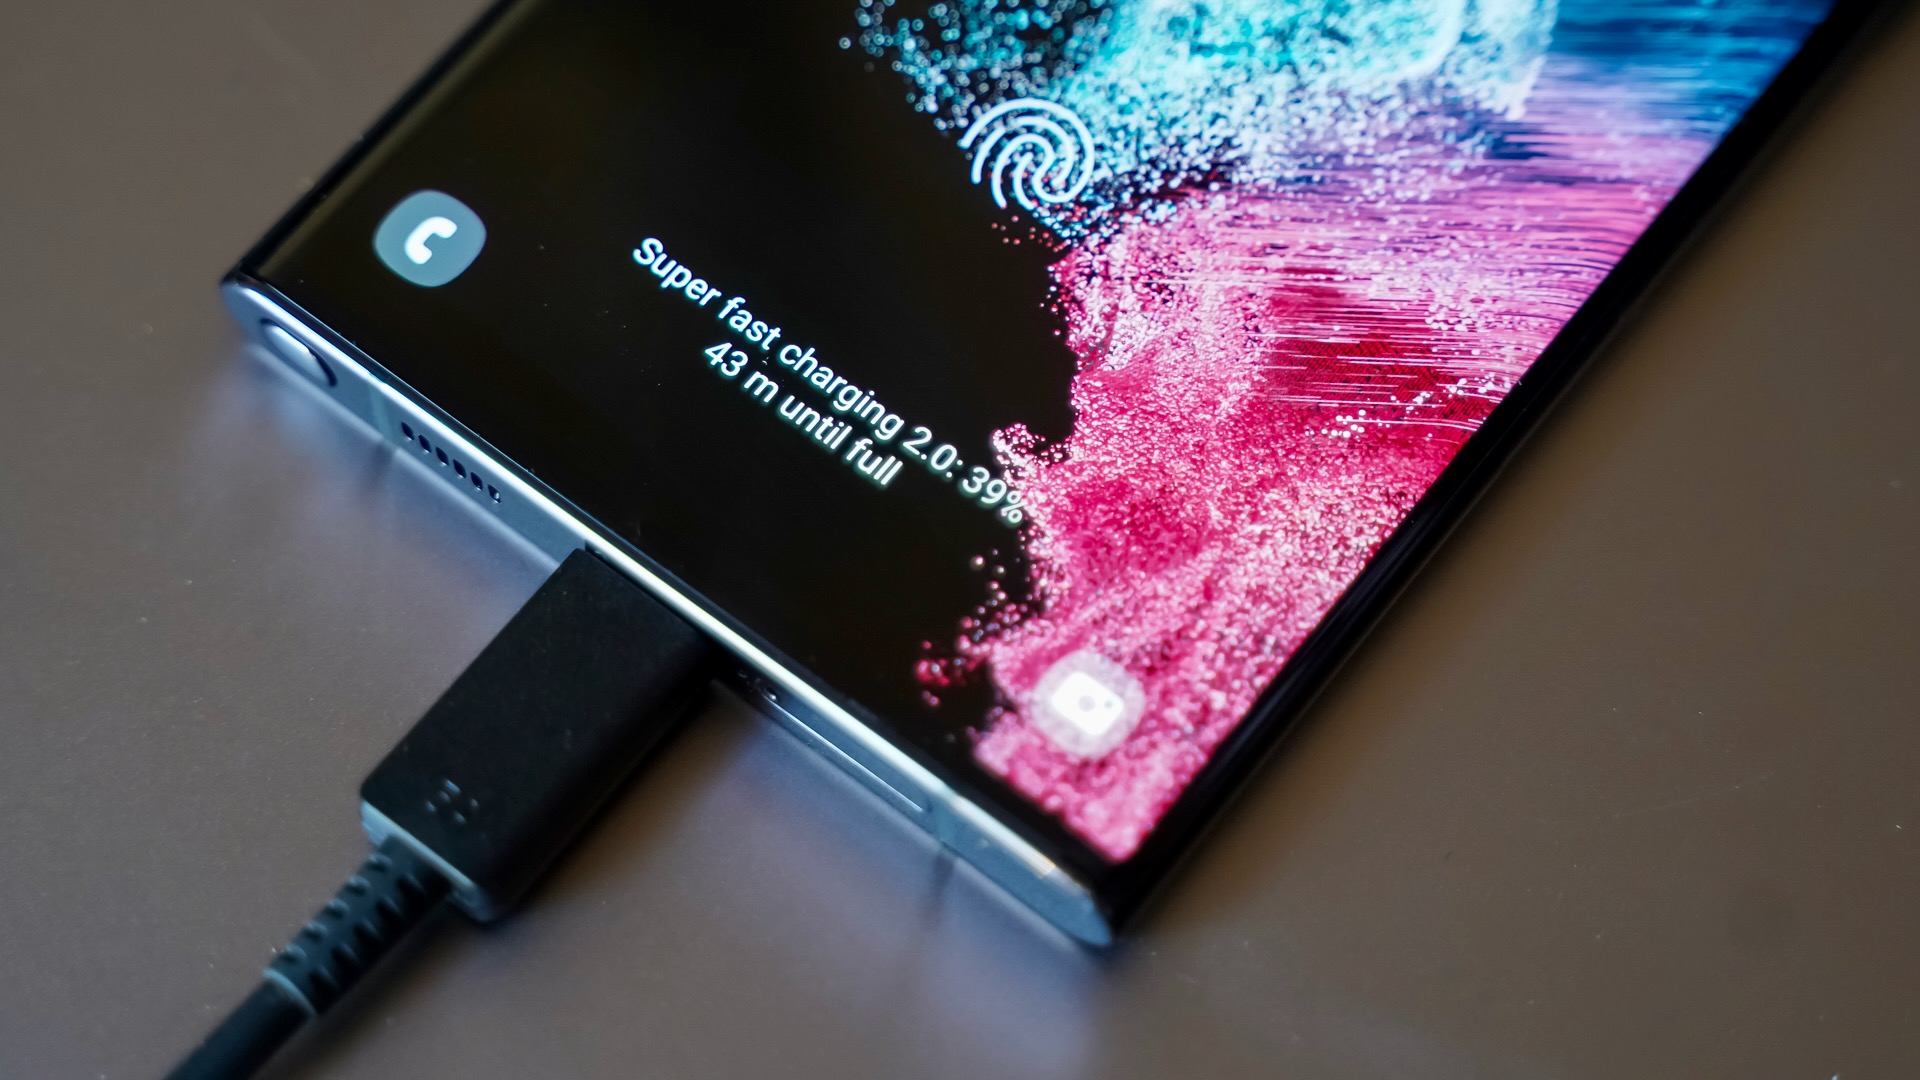
In the era of high-quality smartphone photography, the Samsung Galaxy S22 stands out as a powerful device that captures stunning images. Whether you’ve taken breathtaking landscapes, cherished moments with friends and family, or creative selfies, you might find yourself wanting to transfer these photos to your computer for various reasons.
This step-by-step guide, drawn from the official Samsung website, will walk you through the process of seamlessly transferring photos from your Galaxy S22 to your computer.
Why Transfer Photos to Your Computer?
Before we delve into the transfer process, let’s consider the reasons you might want to move your Galaxy S22 photos to your computer:
- Backup and Security: Safeguard your memories by creating a backup on your computer. In the event of accidental loss or damage to your phone, your photos will remain secure.
- Editing and Organization: Editing software on your computer often provides more advanced tools than mobile applications. Transferring photos allows for enhanced editing possibilities. Additionally, organizing your photos on a larger screen is more efficient.
- Sharing and Printing: Uploading photos to your computer enables easy sharing on social media or through email. Moreover, if you wish to print your photos, having them on your computer makes the process straightforward.
Step-by-Step Guide to Transfer Photos from Galaxy S22 to Computer:
Now, let’s walk through the process of transferring your Galaxy S22 photos to your computer. Follow these steps to ensure a smooth and efficient transfer.
Step 1: Connect Your Galaxy S22 to Your Computer
- Use the USB-C cable provided with your Galaxy S22 to connect your phone to your computer.
- Ensure that your computer recognizes the connected device. You might see a notification on your phone prompting you to choose a USB option. Select “File Transfer” or “Media Transfer Protocol (MTP).”
Step 2: Access the File Explorer on Your Computer
- Open the File Explorer on your computer (Windows) or Finder (Mac).
- Locate your connected Galaxy S22 under “Devices and Drives.”
Step 3: Navigate to the DCIM Folder
- Open the Galaxy S22 folder and navigate to the “DCIM” (Digital Camera Images) folder.
- Your photos are typically stored in the “Camera” subfolder.
Step 4: Select and Copy Your Photos
- Click and drag to select the photos you want to transfer.
- Right-click and choose “Copy” or use the keyboard shortcut (Ctrl + C on Windows, Command + C on Mac).
Step 5: Choose Your Destination on Your Computer
- Navigate to the folder on your computer where you want to store the transferred photos.
- Right-click in the destination folder and choose “Paste” or use the keyboard shortcut (Ctrl + V on Windows, Command + V on Mac).
Step 6: Safely Eject Your Galaxy S22
- Before disconnecting your phone, ensure that all transfers are complete.
- Safely eject your Galaxy S22 from your computer to avoid data corruption.
Additional Tips:
- Use Samsung’s Smart Switch:
- Samsung’s Smart Switch application is designed for easy data transfer. Download and install Smart Switch on your computer, follow the on-screen instructions, and select the photos you wish to transfer.
- Cloud Services:
- Samsung offers cloud services like Samsung Cloud or Microsoft OneDrive. Upload your photos to the cloud, and access them from any device with the corresponding application.
- Wireless Transfer:
- Explore wireless transfer options, such as using Wi-Fi Direct or third-party apps, for a cable-free experience.
Conclusion:
Transferring photos from your Samsung Galaxy S22 to your computer is a straightforward process that ensures the safety, accessibility, and flexibility of your cherished memories. Whether you prefer the traditional USB method or explore wireless alternatives, the key is to choose the option that best suits your preferences and needs.
